Starting the Godot file
Welcome back! When I last posted about jrpg2023, we were making pixel art for some of our main characters. I’ve made some progress since then, and we now have a starter Godot file system going.
For those not familiar, Godot is an open source game making engine. You can make 2d or 3d games in it, though my impression of it is that it’s mostly being used by 2d developers like myself. The scripting language is most similar to python. It’s free. I’ve chosen to make this project in Godot 4.0 which is still very new as of this writing.
In the last couple of posts here, I’ve shared screenshots and gifs of pixel art for this game. The program those gifs were from is called Asperite. After making pixel art in asperite, you convert it into a png, and then bring it into godot to incorporate into your game. There’s a lot of software you could make pixel art in, asperite is just what I use.
After feeling satisfied enough with the basic movement animations of our four main characters, I decided to next work on building out the prologue of the game.
Vision for the Prologue
Playable Section #1
My vision for the beginning of the prologue is for our main character (informally known as Rob) to wake up in a dream version of his house because he hears a knock on the door. He goes to answer the door, and in the dream it is a large black door with a curious symbol on it. As the door opens, he wakes up from his dream. We can iron out the details of the curious symbol and what exactly that foreshadows later.
Playable Section #2
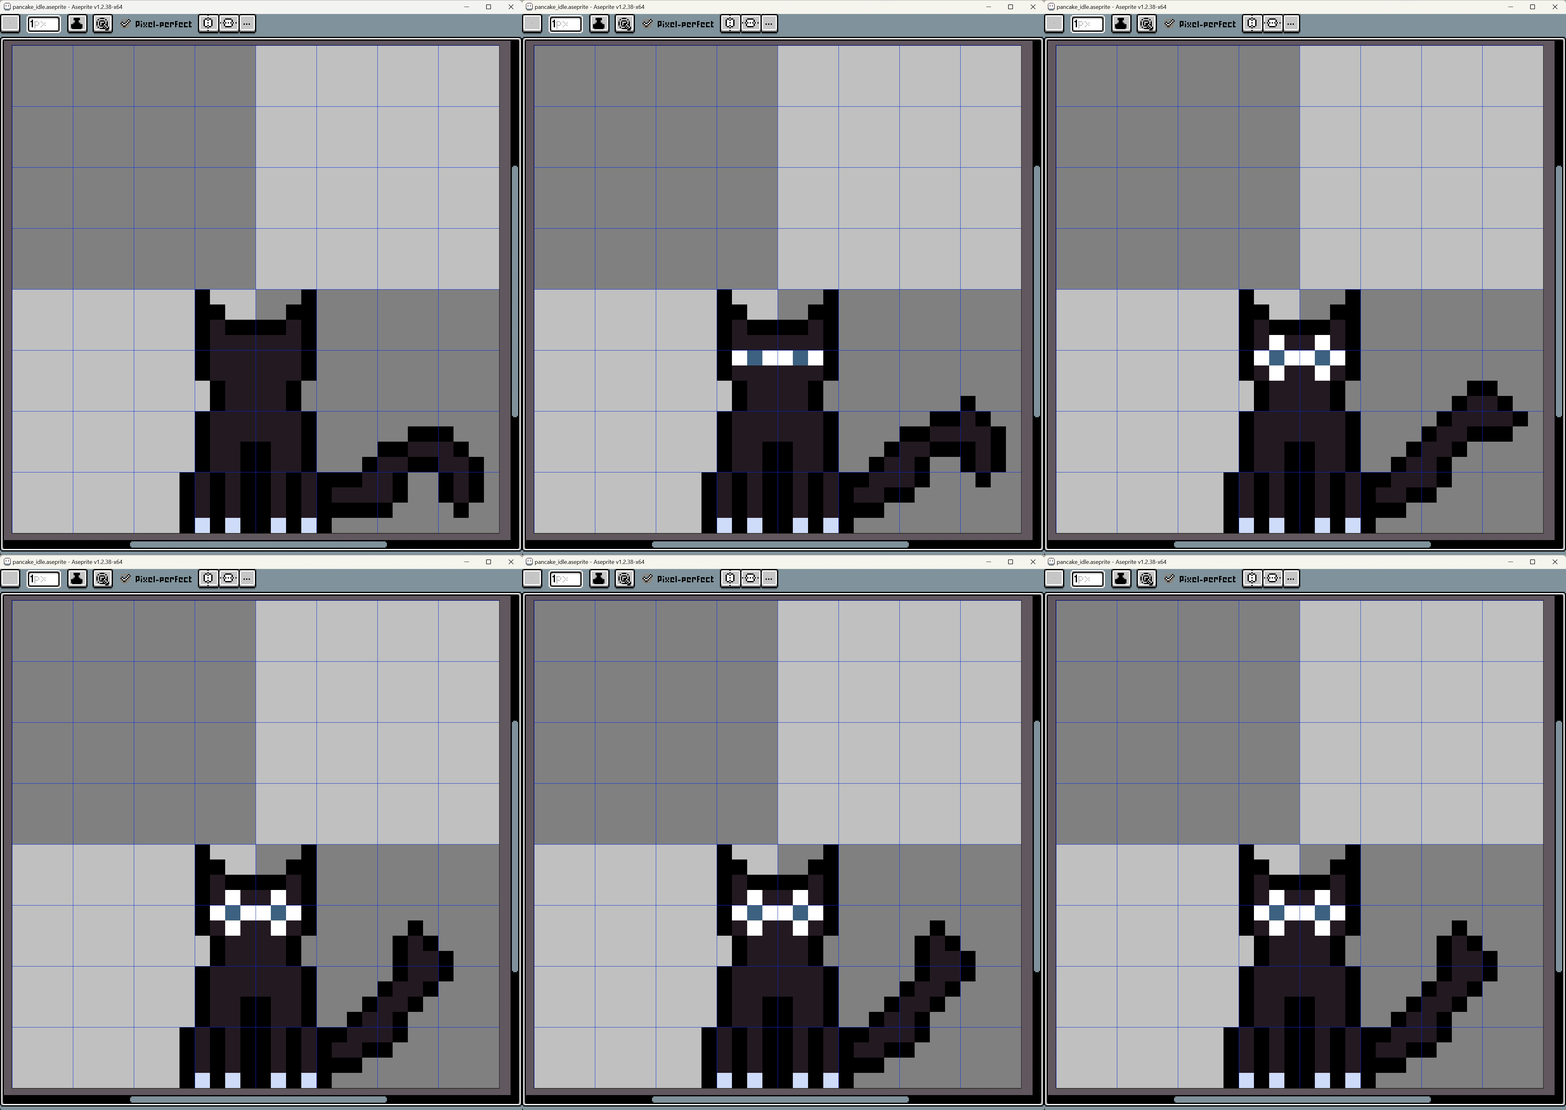
Rob wakes up in the real version of his house, still hearing a knock on the door. He answers the door and finds Erika, who is distressed because Pancake, her cat, has run off after a cat food feeder that has come to life and run off. She mentions that it was from the Happy Smiles Corporation (or whatever we name this fictional evil company).
Erika says that Rob should change out of his pajamas before they leave to investigate, so Rob walks back toward his room but is attacked by his oven, which also comes to life (similar to the cat feeder), as he's on his way. This starts a tutorial fight with the Sinister Stove.
Playable Section #3
After fighting the stove, you walk outside and see Pancake run into an old abandoned candy factory, which serves as the prologue dungeon. You can't go into town yet, you can only be in the dungeon which therefore needs to be essentially impossible to fail.
Prologue Ends with Ticky Tacky boss fight.
Pajama Rob
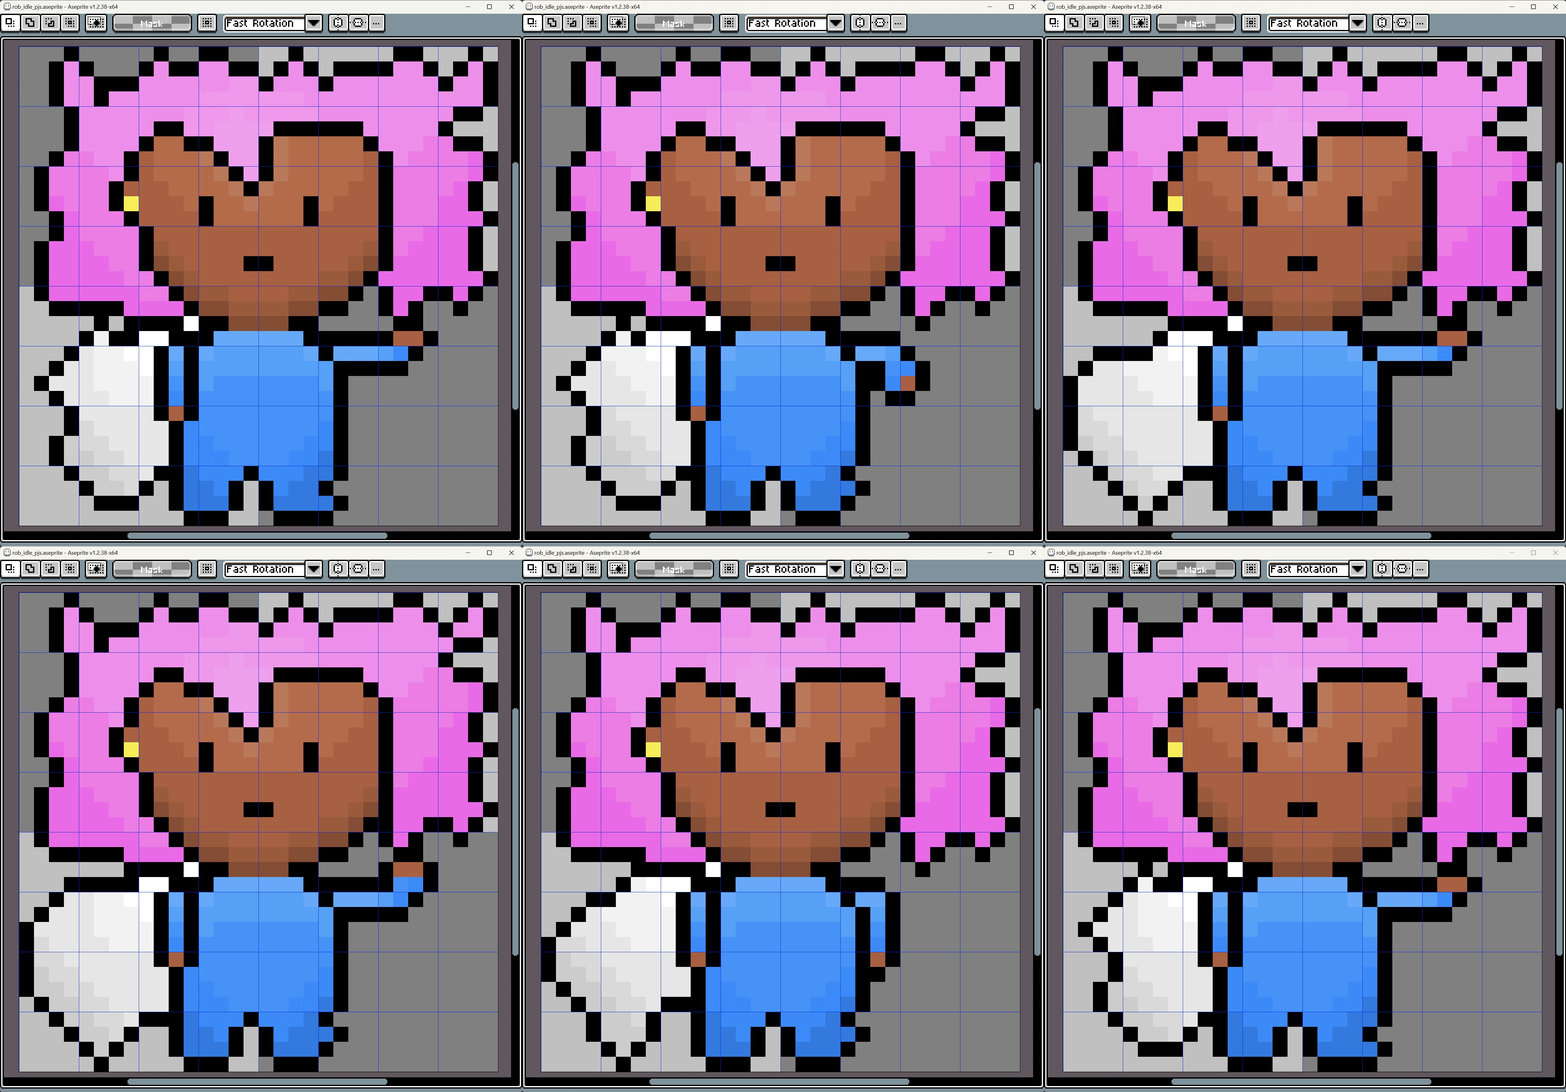
So with the above laid out, there were many possible options on what to work on next. The first thing I chose was creating the pajama-wearing version of Rob, which you can see a couple animations of here. I like the idea of a pajama version of the cape. So, we now have the sprites to enable Rob to walk around either in his normal garb, or in PJs. Cool!
Aspect Ratio
The next prologue thing I wanted to do was to build out Rob’s house, since that’s where one of our opening prologue scenes is. I opted to start building the real house first, not the dream house described above in playable section #1.
Once you start building out the house and putting different items next to each other, you inevitably need to choose an aspect ratio to make your game in.
I landed on 640x360 for now. If you’re wondering, I chose this essentially because it is a 16:9, so it neatly scales up to 1080p, while also being small enough for pixel art to be workable with it. If anything, I might make the pixel counts smaller which would zoom things in relative to what I show below, but we’ll see. The tricky thing is that I can also address issues with how things look by changing the art itself. The artwork and the aspect ratio work together to create the overall style. You know?
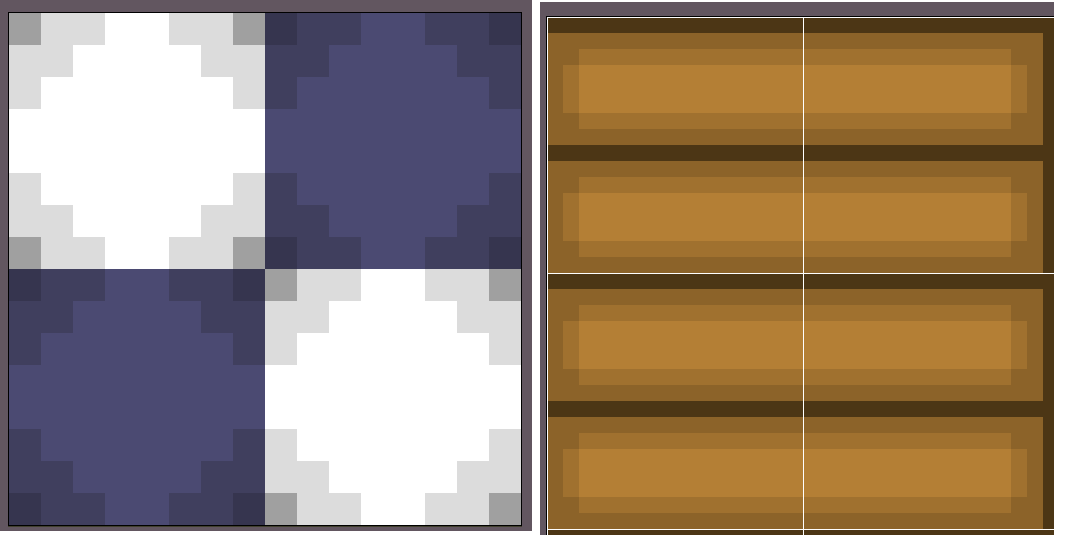
The above is where we’re at right now, and demonstrates the rest of the work this update covers. First, there’s the creation of a bunch of new pixel art, which shows some of the interior of Rob’s house. I currently have it chunked into three main sections - stuff in his bedroom (bed, bedside table, lamp, CRT, and two dressers), the kitchen (counters, sink, chairs, table), and the living room (big tv, couch, rug, etc). Floors and walls will likely be in the next update. Here’s some of the new pieces. Note that things that look a little blurry here won’t in-game - I think it’s a filtering issue.
Starting the code…
So we’re going to look at some code here in the blog, but don’t worry. We’re keeping it conceptual. Also, I’m not an expert at this at all. In fact I know very little about coding a video game so you’ll be learning about me learning about it, really. Part of my intention in reviewing the code here on the blog is literally just for me to personally make time to review it. With that said though, I think the way games work is really interesting, and you might too!
Anyway, as the little video of our main character running around his mostly-gray house shows, we can now move our character around in-game. He even animates correctly depending on which way you’re running. Right now the only script in our game is one governing the player. This script is how the game lets you move around. First I’ll paste the code, then we’ll look at it.
extends CharacterBody2D
@onready var _animation_player = $AnimationPlayer
@export var speed = 200
@onready var sprite = $rob_spritesheet

func get_input():
	var input_direction = Input.get_vector("in_left", "in_right", "in_up", "in_down")
	velocity = input_direction * speed

func animate_rob():
	get_input()

	if Input.is_action_pressed("in_right"):
		sprite.flip_h = false
		_animation_player.play("walk_leftright")
	elif Input.is_action_pressed("in_left"):
		sprite.flip_h = true
		_animation_player.play("walk_leftright")
	elif Input.is_action_pressed("in_down"):
		sprite.flip_h = false
		_animation_player.play("walk_down")
	elif Input.is_action_pressed("in_up"):
		sprite.flip_h = false
		_animation_player.play("walk_up")
	else:
		_animation_player.play("idle")


func _process(delta):
#	get the input
	get_input()

#	tell the animation player what to do
	animate_rob()

#	uses velocity (a Vector2) to move Rob
	move_and_slide()
Our first player script!
The first iteration of our player script is very simple. There’s basically four things we’ve added.
player script part 1 of 4 - the intro definitions
This is from the top until the get_input function.
@onready var _animation_player = $AnimationPlayer - this lets us refer to the animation player node with the variable name "animation player’. More on this in a second.
@export var speed = 200 - we make up a variable called speed and give it a value of 200.
@onready var sprite = $rob_spritesheet - this lets us use the variable name ‘sprite’ to refer to the texture we have stored as Rob’s sprite, which is a file called rob spritesheet.
For more detail, check the following image.
the player node has four nodes underneath it - a sprite, an animation player, a 2d camera, and a shape used to manage collisions
So this is a screenshot of godot. We’re looking at the player object, which is the object that the script we were looking at governs. You can see that nested under the player object there are four other nodes. Two of these were mentioned in the code - rob_spritesheet and AnimationPlayer. So basically the code is letting the player object code easily refer to its children (the nodes nested beneath it).
Rob’s Spritesheet
Also, if you’re wondering about the handoff of an animated pixel art file into the game engine, the way I’m doing it is via a sprite sheet. Above I have all the different frames of animation Rob is ever in (at this point - there are many more to come). They’re all the same size and are evenly spaced. This setup plays nicely with the Animation Player node, which is good at systematically scanning and fetching frames from the spritesheet (among many other things).
player script parts 2 -4, Get input, animate, process
The rest of the script is me defining two new functions. First is get input, which figures out which directions we’re pressing (up, down, left, and right are the only inputs possible right now). Get input also sets the variable “velocity” to our speed, but with the sign changed to either positive or negative to reflect the direction we’re moving.
Next is the animate rob function, which you can get the gist of if you read it. It’s playing whichever animation matches the direction we’re moving. Since my sprite for walking to the side was made with rob walking from left to right, if he’s walking from right to left, we need to set flip_h to true which will rotate the sprite the right direction.
Finally is the process function, which is what actually runs each frame of the game. While we defined a bunch of functions above, calling them actually happens here in the process function. In the process function we called our get input function, we then called the animate rob function, and finally we called an out-of-the-box function called move and slide. Move and slide is what will actually move rob the 200 pixels.
And that’s it. Right now, 60 times per second, our game is running this code. It checks to see what we’re pressing, changes our animation, and moves us. Over and over and over again. Cool.
What’s next?
Continuing to build out the prologue I think! I’ll probably post again once Rob’s house is in a bit better shape. Talk to you next time.


